
What syncs
Connect
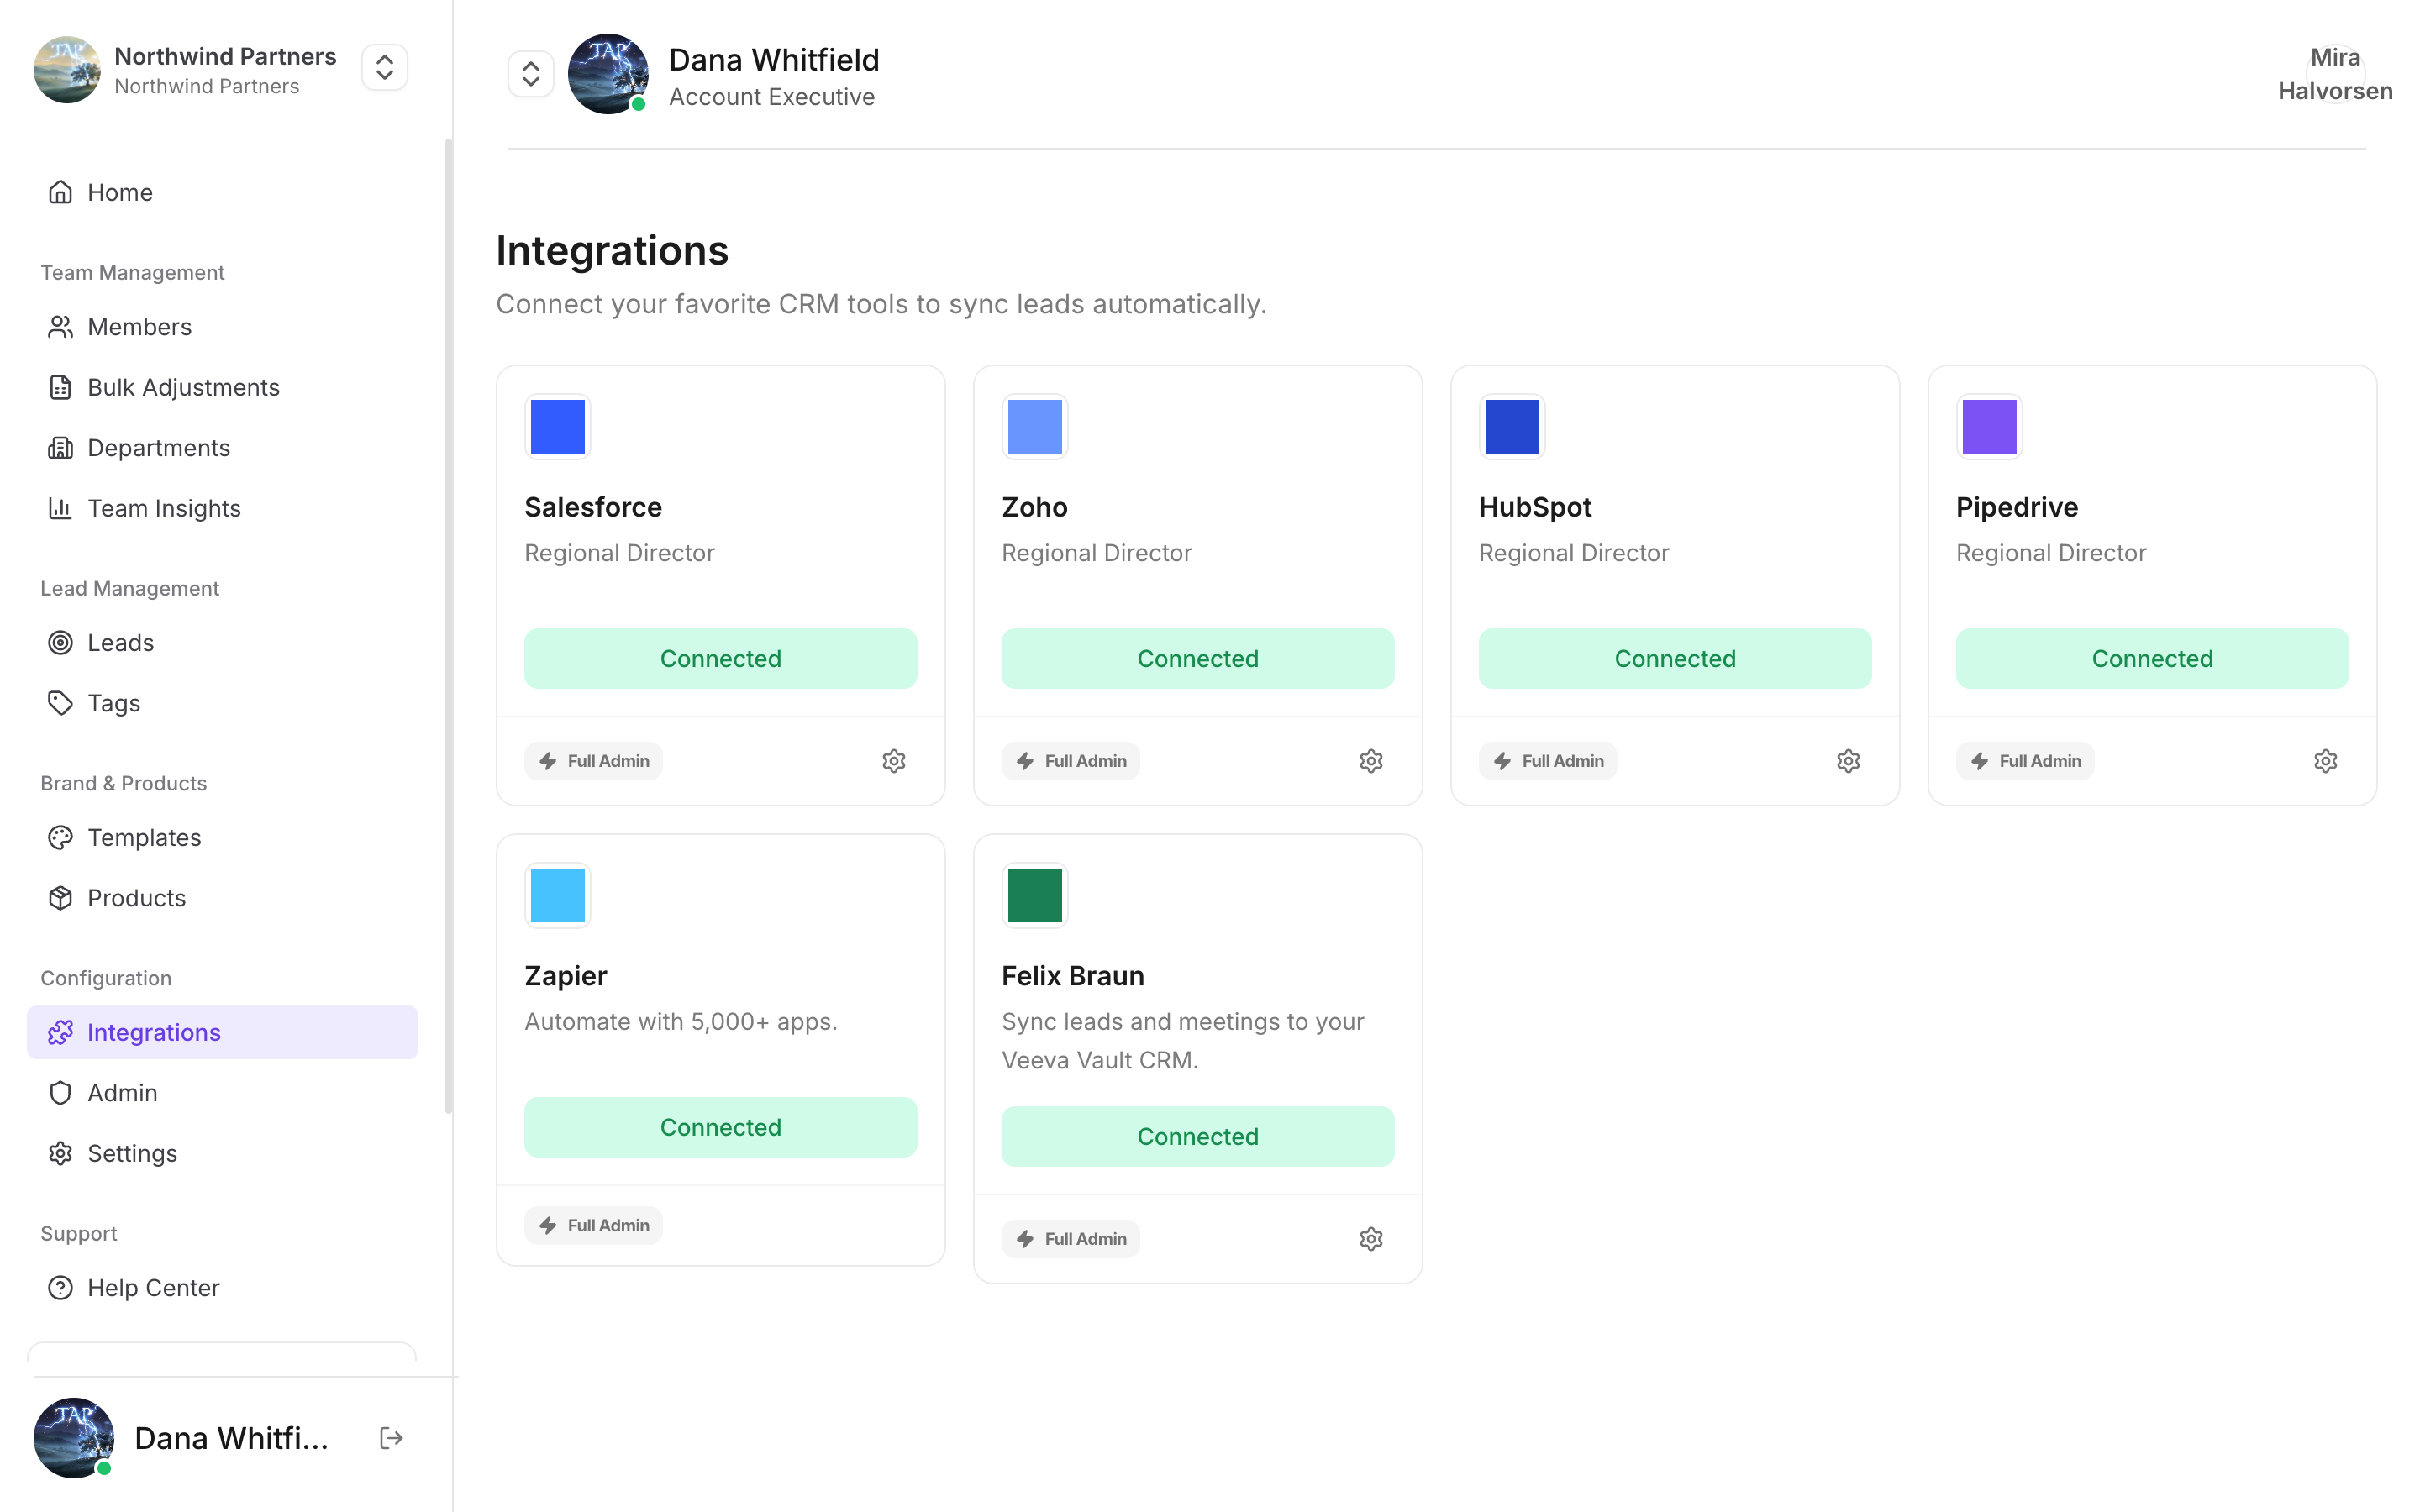
Find it under Integrations in Tap Teams
1
Start the connection
In Tap Teams, go to Integrations → HubSpot → Connect.
2
Choose the right HubSpot account
If you belong to more than one HubSpot account, check the account selector on the authorization screen before approving. Connecting a sandbox by mistake is easy to do, and it produces a working integration that sends your leads nowhere useful.
3
Approve access
Tap requests permission to read and write contacts and tasks. Approve with a user who has those permissions — a read-only user connects successfully and then fails on the first sync.
4
Map your fields
Standard fields map automatically. Map custom fields by hand — see Field mapping.
Custom properties
Create the property in HubSpot before mapping to it: Settings → Properties → Create property, on the Contact object. Match the type to what you’re capturing. A free-text answer mapped to a HubSpot dropdown property is rejected unless the value exactly matches an existing option.Notes specific to HubSpot
Contacts are matched by email
Contacts are matched by email
HubSpot treats email as the unique key for contacts. A captured lead whose email already exists updates that contact rather than creating a second one. A lead captured without an email always creates a new record.
Owner assignment needs matching emails
Owner assignment needs matching emails
Tap looks for a HubSpot user whose email matches the member who captured the lead. No match means the contact lands with your default owner rather than failing.
Required properties fail the whole sync
Required properties fail the whole sync
If a contact property is required in HubSpot and nothing maps to it, every sync fails. Map something to it or make it optional.
Not arriving?
Work through the troubleshooting guide.